

Key Takeaway:
- Printing selected worksheets in Excel is essential when working with large amounts of data. Understanding your printing options and setting up your printer for optimal performance will help ensure quality prints.
- To print a single worksheet in Excel, select the worksheet you want to print and adjust the page layout to your needs. Choosing the print area to focus on will help ensure that the most important information is printed.
- Printing multiple worksheets in Excel requires selecting the worksheets you want to print, customizing page layout options, and determining the print area for all selected worksheets. This feature is useful when working on multiple projects at once or when needing to compare information across various worksheets.
- When printing specific cells in Excel, select the cells to print and adjust the page layout to your specifications, and set a custom print area for your selection. This feature can help save time and paper, as you only need to print the necessary information.
- If you encounter common printing problems, such as cut-off text or images, check for printer errors and connectivity issues, adjust page margins, and preview your document before printing for quality control.
Do you find it difficult to print individual Excel worksheets instead of the entire workbook? Here’s how you can easily customize your print-outs when using Excel.
Understanding Your Printing Options
Excel printing can be overwhelming, but with a little help, you can easily navigate the options. Here’s a 5-step guide:
- Go to ‘File’ and select ‘Print.’
- In the Print dialog box, choose between ‘Active Sheets,’ ‘Entire Workbook,’ or ‘Selection.’
- Then go to ‘Page Setup’ to set margins and scaling.
- Decide on how many copies and which printer to use.
- Hit ‘Print.’
Other useful options to incorporate include repeating titles, gridlines, and sheet names. These can make a difference when working with multiple sheets or large data sets.
At first, these options may seem daunting, but once you get used to them, they become simple. Don’t let lack of knowledge prevent you from creating professional-looking documents.
Now, let’s move on to setting up your printer for optimal printing.
Setting Up Your Printer for Optimal Printing
To get the best results from printing Excel worksheets, it’s essential to set up your printer properly. Follow this step-by-step guide:
- Check the ink or toner levels. Make sure they’re sufficient.
- Go to ‘Printer Properties’ in the Printer dialog box. Customize image quality, select paper size, and create print duplicates.
- Choose between single-sided and double-sided printing modes.
- Check if there’s a special tray for envelopes, labels, or letterheads.
- Align and clean the printer regularly.
- Preview documents before printing to avoid wasting ink or toner.
Once your printer is set up, it will use the correct margins and print the columns and rows of your spreadsheet accurately. Make sure to preview documents before printing to save ink and toner.
How to Print a Single Worksheet in Excel
I’m an Excel enthusiast, always hunting for ways to speed up my workflow and make my day a piece of cake. Printing particular worksheets in Excel can be a pain. Here’s how to do it in no time.
- First, select the sheet you want to print.
- Then, adjust the page layout to fit your requirements.
- Lastly, pick a specific print area to concentrate on.
These tips are sure to make printing in Excel a walk in the park. Let’s get to it!
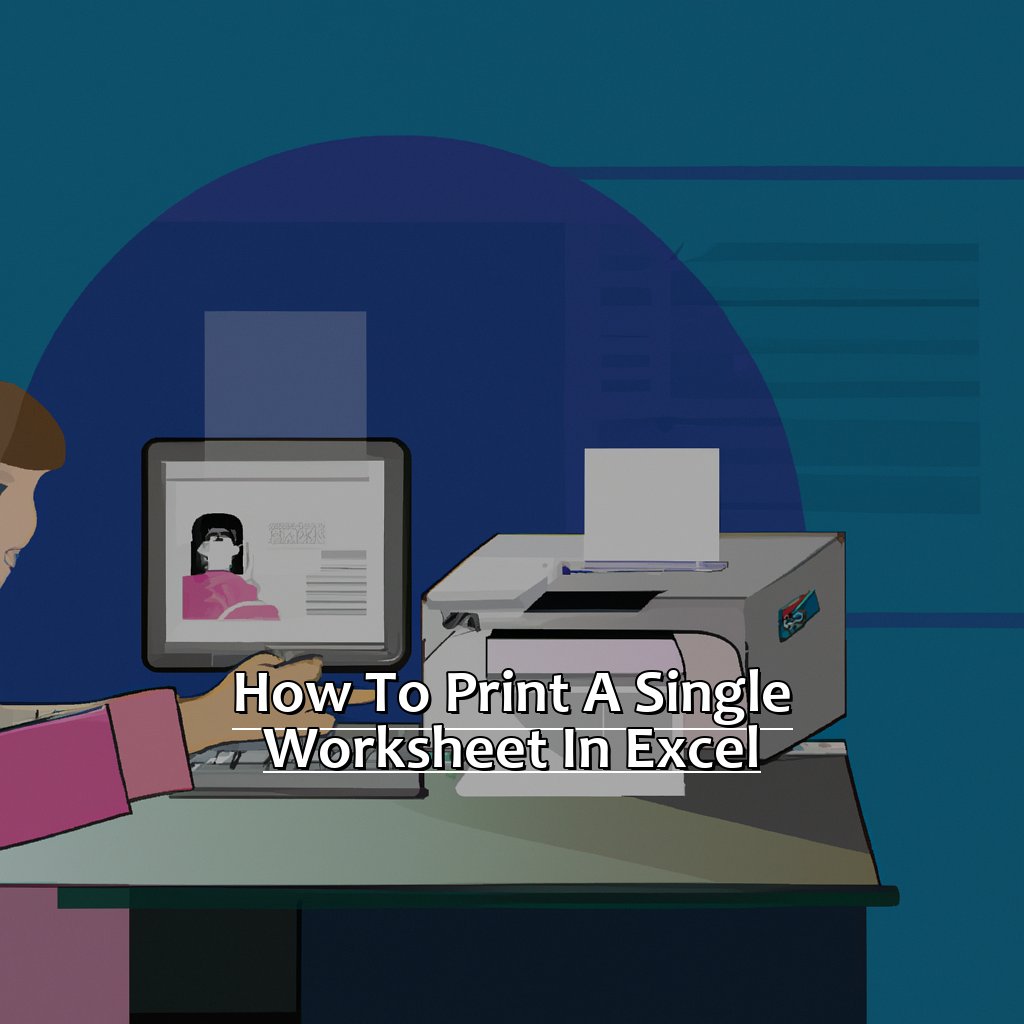
Image credits: manycoders.com by Joel Arnold
Selecting the Worksheet You Want to Print
Open the Excel file and select the workbook. From the tabs at the bottom, click on the sheet you want to print. Hold CTRL key and click on each sheet if you want to print multiple sheets. Click on ‘File’ from Excel’s top menu and choose either ‘Print Preview’ or ‘Print’.
Why select the worksheet? By default, Excel prints all sheets together. However, you might want to print a single sheet for a presentation or assignment. Knowing how to select individual sheets gives you more flexibility.
Did you know Microsoft Office has been around since 1989? It started as a bundle for Windows 2.0. It had Word (word processor), Excel (spreadsheet program) and PowerPoint (presentation app). It has evolved tremendously!
Let’s now move onto adjusting page layout for your needs.
Adjusting the Page Layout for Your Needs
Go to the ‘Page Layout’ tab in Excel. Select ‘Page Setup’ and a new dialog box will appear.
Adjust the margins. Specify the space between your data and the paper’s edges. You can also use a custom margin, if needed.
Choose if you want your data in portrait or landscape. This is under the ‘Orientation’ section. Click OK, then view changes in ‘Print Preview’. Adjust until everything is lined up correctly.
Did you know, optimizing spreadsheet presentation skills is among Forbes’ top skills sought by employers? Make sure your printed worksheets look clean and presentable. We’ll show you how to select specific areas for printing in the next section.
Choosing the Print Area to Focus On
- Choose the Print Area to Focus On with these steps.
- Select the worksheet with your data.
- Highlight the cells you want to print.
- Use your mouse or type row and column numbers in the Name Box.
- Go to the Page Layout tab.
- Select Print Area > Set Print Area.
- Check it with Ctrl + P or File > Print Preview.
- Press Print if you’re happy.
- Choose printing selection wisely – save time and ink.
- Practice basics before advanced techniques.
- Print multiple worksheets for creative reports.
How to Print Multiple Worksheets in Excel
Printing multiple worksheets in Excel can seem tough. But don’t worry! There’s an easy way to streamline the printing process and avoid printing extra info. Here’s how:
- Select multiple worksheets to print.
- Customize page layout options.
- Determine the print area of the selected worksheets.
By the end, you’ll have a more efficient process and save time and resources too!

Image credits: manycoders.com by Adam Duncun
Selecting Multiple Worksheets to Print
Text:
Ctrl + click to select worksheet tabs you want to print. Or, click the first tab, hold Shift key and click last tab to select all in between. Right-click any tab to choose “Select All Sheets” for the whole workbook. Need specific groups? Ctrl + click to choose each group member. Then File > Print or Ctrl + P for Print dialog box.
Printing multiple sheets saves time. Preview and adjust printing options for the workbook all at once. Excel also allows page breaks manually/automatically – helps readability. Customize headers, footers, margins and scaling options – essential for optimized printing.
Customizing Page Layout Options for Your Needs
- Open the workbook and select your worksheet.
- Click “Page Layout” in the “Ribbon”.
- Choose margins, orientation and paper size in “Page Setup”.
- Adjust scaling, headers/footers and page order under “Print”.
- Preview changes before printing with “Print Preview”.
- Customize page layout to save time and ensure all info is displayed.
- Format fonts, cells and colors.
- Add header or footer with date or file name.
- Print multiple sheets at once for important presentations.
Now let’s move onto Determining the Print Area for All Selected Worksheets!
Determining the Print Area for All Selected Worksheets
Select all the worksheets to be printed. Go to the Page Layout tab in the ribbon at the top of the screen. In the Page Setup section, click the small arrow in the bottom right-hand corner. The Page Setup dialog box will appear. Choose “All” under “Print Area” in the Sheet tab. Click OK to apply this setting to all selected worksheets.
Ensure each worksheet’s print area is correct before printing. Don’t overlook small details when printing multiple sheets. Check each sheet’s page setups too. Defined print areas make setup easier than calculating each page’s margins and sizes yourself.
Did you know Excel has a Scale To Fit feature? It allows you to fit all columns or rows onto one page automatically. Access it by going to File > Print > Settings > Page Setup > Scaling > Fit All Columns on One Page.
Last but not least, learn how to Print Specific Cells in Excel.
Printing Specific Cells in Excel
Printing only what’s needed is key when organizing data in Excel. We’ll talk about printing specific cells. It’s essential to save paper, time and grasp data better. I’m assuming you need to print a small part of your worksheet. Here’s how:
- Select the cells you want to print.
- Modify the page layout to fit your needs.
- Set a custom print area for your selection.

Image credits: manycoders.com by David Washington
Selecting the Cells You Want to Print
Open the worksheet you want to print. Select the cells you wish to print. Right-click on any of the chosen cells. Click on “Print”.
In the “Settings” tab, choose “Print Selected Cells” or “Entire Workbook”. Select or deselect the individual sheets, if there are multiple sheets in your workbook. Click on “Print” when satisfied.
Knowing how to select cells to print is beneficial because it saves time. Statistics from Microsoft show that 750 million people use Excel worldwide. So, it’s important to learn this basic skill. Modifying the page layouts is also essential. This helps create workbooks that are both functional and aesthetically pleasing.
Modifying the Page Layout to Your Specifications
Look for the ‘Margins’, ‘Orientation’, ‘Size’, and ‘Print Area’ options in the tab. They provide options to modify the layout of your sheet.
To adjust margins, choose one of the preset options in the drop-down menu, or select ‘Custom Margins’ and manually enter new values.
Orientation lets you switch between portrait and landscape layouts. Landscape mode is good if you have a wide table with many columns.
For Size, select from popular paper sizes like letter or legal, or create your own custom size.
Change or create a Print Area to specify which cells should be printed. Highlight each cell range with SHIFT + CLICK or CTRL + CLICK. Then, right-click and select ‘Set Print Area’.
Pro Tip: If you need more space on one page than provided in Excel’s presets, use scale-to-fit (under Print).
Setting a Custom Print Area for Your Selection is easy. Follow similar steps and annotate which cells/area needs printing.
Setting a Custom Print Area for Your Selection
Want to save time and paper when printing from Excel? Set a custom print area! This allows you to select which cells to print. Here’s how:
- Select the cells you want to print
- Go to the “Page Layout” tab
- Click on “Print Area” and select “Set Print Area”
- Preview the document with “Print Preview” to make sure the cells fit on one page.
Selecting a custom print area allows you to highlight specific data and leave out irrelevant details. You can also adjust page layout settings like margins, scaling, and orientation for a professional-looking report or presentation.
Remember that a custom print area is not permanent. Remove or resize it if you decide to include extra info.
Page break preview mode is also helpful. It shows what will be printed on each page, and makes it easy to adjust cell sizes.
Troubleshooting Common Printing Problems
Frustrating, isn’t it? Trying to print an important Excel doc and running into issues. So, let’s figure out what to do! First, we check printer errors and connectivity problems. Adjust page margins to avoid cuts. Lastly, preview before printing for quality! That way, we can solve printing problems in Excel.

Image credits: manycoders.com by Yuval Jones
Checking for Printer Errors and Connectivity Issues
Check that the printer is turned on and all cables are securely attached to your device! Clear any print jobs in the printer queue – a backlog of print jobs can cause errors or delays. Also, run a printer diagnostic test to identify any hardware or software issues.
If you’re still having trouble, check your device’s network settings – this could be causing connectivity issues between your device and the printer. Otherwise, call a professional for further assistance.
It’s annoying when printing problems arise. But no need to worry – with a few troubleshooting steps, common printing problems can be resolved easily.
Fun Fact: Did you know that the first electronic printer was invented by Japanese inventor Ichiro Endo in 1971? It used a silver ink coated paper that would turn black when exposed to heat from an electric wire.
Now, we’ll move onto adjusting page margins in Excel to avoid cut-off text or images.
Adjusting Page Margins to Avoid Cut-Off Text or Images
Go to the “Page Layout” tab in Excel. Click on “Margins” and select “Custom Margins”. Enter the margin values in the “Page Setup” dialog box for Top, Bottom, Left and Right.
Adjusting Page Margins is important to avoid cut-off text or images. For example, narrow margins may cause text fields to not fit on one line, making them hard to read.
Having adequate margins will ensure your content looks presentable when printed. Improper margin settings can also cause skewed images. The edges of an image may be cut off while printing, resulting in misalignment in texts.
Therefore, select page margins that give your content enough space. Paginate properly and adjust line grades and character spacing to avoid compromised results.
Previewing Your Document Before Printing for Quality Control
Previewing Your Document Before Printing for Quality Control can save you time, ink, and money! It also helps you spot formatting errors and incorrect placement of text/images. Follow these five easy steps and you’ll be sure to get the perfect printed product:
- Click File tab or press Ctrl+P.
- Select the Preview button in the Print menu.
- Check the Print Preview view. See how your doc looks when printed.
- Flip through pages to check for any errors or issues using the arrows in the bottom-right corner.
- Once you’re happy with it, click Print.
It’s easy to forget the power of print previews. I once made this mistake when creating a research report with graphs and charts. Unfortunately, some pages weren’t formatted correctly resulting in legends being cut off during printing. The client was not pleased! This highlights the importance of print-previews.
To summarize, Previewing Your Document Before Printing for Quality Control is essential. With these five easy steps, you can guarantee a quality printed product while saving money on ink cartridges and making sure the client is pleased with the end result!
Five Facts About Printing Selected Worksheets in Excel:
- ✅ Printing selected worksheets in Excel allows you to save paper and ink by only printing the necessary pages. (Source: Excel Campus)
- ✅ To print selected worksheets in Excel, select the sheets you want to print and go to File > Print. (Source: TechTarget)
- ✅ You can also choose to print specific pages within a worksheet by specifying the page range in the Print menu. (Source: Ablebits)
- ✅ To preview the selected worksheets before printing, use the Print Preview function in Excel. (Source: dummies)
- ✅ Printing selected worksheets in Excel can improve organization and clarity in reports and presentations. (Source: Microsoft)
FAQs about Printing Selected Worksheets In Excel
What does ‘Printing Selected Worksheets in Excel’ mean?
‘Printing Selected Worksheets in Excel’ means to select specific worksheets from an Excel workbook and print them, rather than printing the entire workbook.
How can I select specific worksheets to print in Excel?
To select specific worksheets to print in Excel, you can hold down the ‘Ctrl’ key on your keyboard and click on the tabs of the worksheets you want to print. Once you have selected all the worksheets you want to print, go to the ‘File’ tab, click ‘Print’, and select ‘Print Active Sheets’.
Is it possible to customize the print settings when printing selected worksheets in Excel?
Yes, it is possible to customize the print settings when printing selected worksheets in Excel. After selecting the worksheets you want to print, go to the ‘Page Layout’ tab, click ‘Print Titles’, and select the rows and columns you want to repeat on each printed page. You can also adjust other print settings such as margins, orientation, and scaling.
Can I use a print preview to see how my selected worksheets will appear when printed?
Yes, you can use a print preview to see how your selected worksheets will appear when printed. After selecting the worksheets you want to print, go to the ‘File’ tab, click ‘Print’, and select ‘Print Preview’. This will give you a preview of how your worksheets will look when printed, allowing you to make any necessary adjustments before actually printing.
What if I want to print selected worksheets but also include certain cells that appear on other worksheets?
If you want to print selected worksheets but also include certain cells that appear on other worksheets, you can use the ‘Page Setup’ feature to set print areas that overlap multiple worksheets. First, select the worksheets you want to print, then go to the ‘Page Layout’ tab, click ‘Print Area’, and select ‘Set Print Area’. Repeat this process for any additional cells or ranges on other worksheets that you want to print.
How can I save my selected worksheets as a PDF?
To save your selected worksheets as a PDF, go to the ‘File’ tab, click ‘Save As’, and select ‘PDF (*.pdf)’ from the ‘Save as type’ dropdown menu. Select the location where you want to save the file, give it a name, and click ‘Save’.